
Steps to Building an Inground Pool
Building an inground pool requires numerous steps, each one building upon the previous phase. When you partner with Aqua Pool and Patio, you partner with a professional team that’s dedicated to bringing your pool dreams to fruition. As one of the best inground gunite pool installers in the New England region, you can rest assured that your pool build will be a positive, exciting experience leaving you with a beautiful and customized pool to enjoy for years to come.
Our pool construction phase can be broken down into the following steps:
- Design
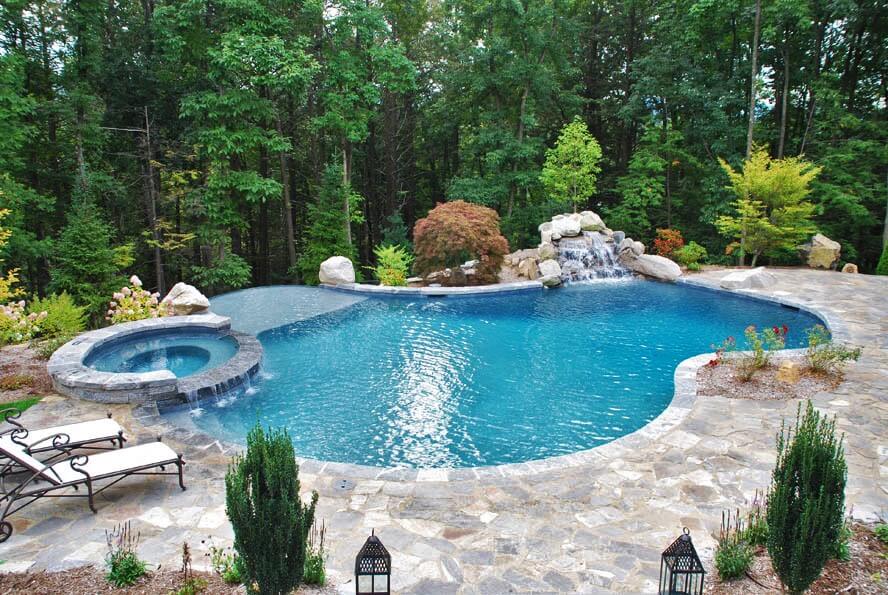
In this phase, you’ll want to examine your property including lot size, topography, underground utilities, and easements. You will also want to consider the type of style, shape, and size of pool you desire. In the design phase, it’s important to nail down specifics such as water features, attached spa, beach entrances and so on (items that cannot be added later).While the design possibilities are endless, we assure that we can help you navigate this phase to craft a pool that fits your budget, property, and timeline. To aide in this process, a quality pool designer will be there to guide you through the process to make the right decisions, not necessarily the most expensive ones. - Excavation
Next up is the excavation phase, otherwise known as the actual digging portion. Equipment will be brought in to help dig the rough shape of your pool. - Steel and Plumbing
This phase marks the start of your pool’s actual construction. Steel rebar is put into place to act as the skeleton of your pool providing necessary structural support. This is also the phase that plumbers will place lines, drains, and returns. - Gunite
One of our personal favorites, the gunite phase is when your pool starts looking like an actual pool. Gunite is applied to the rebar skeleton using a high-velocity air gun to create the shell of your pool. After application, gunite can take some time to cure. - Tile and Coping
While your gunite is curing, it’s an excellent time to put perimeter tiling or pool wall capstones into place. This gives your pool a perimeter of tile at the water level contributing to the overall aesthetics of your backyard oasis. - Electrical
A sub-panel is installed next where the pool equipment like the filter, heater, or pump will be. This is also the time when an electrician will connect lights and other electrical components. - Interior Finish
Nearing the final phase, if you are plastering your pool or using an aggregate finish, this is the time. The waterproof layer of plaster is applied to give your pool that smooth, luminescent layer. - Pool time!
Last but not least, it’s time to perform any last minute cleanups or the installation of equipment. Then your pool can be filled along with an initial chemical balance and you are off to the races.


